
The Freelance Client Onboarding Checklist: 7 Steps to Start Every Project Right
Published on: by: Chip Olson
The success or failure of a freelance project is often determined in the first 48 hours after the contract is signed.
This is a lesson I learned the hard way. I landed my first "big" client and was eager to impress them. The moment they sent back the signed contract, I dove straight into the work, pulling an all-nighter to get ahead. A week later, I presented the initial designs, proud of the progress. The response was polite but crushing: "This looks great, but we just updated our brand colors last month. The style guide you need is with Susan in marketing." I had never been introduced to Susan. That one mistake, born from pure eagerness, cost me nearly a week of rework, made me look like an amateur, and started the project from a place of defense.
I learned that day that excitement is not a substitute for process.
Client onboarding is not an administrative burden; it is a critical risk-management strategy. It is the structured process of transitioning a new client from a prospect to an active partner, and it sets the tone for the entire project.
Why a Formal Onboarding Process is Necessary
A professional onboarding process prevents the vast majority of common freelance problems. It establishes you as an expert guide, not just a hired hand who is waiting for instructions. The direct business benefits are:
- It sets clear, mutual expectations for communication.
- It gathers all necessary project assets and information upfront, preventing delays.
- It professionally manages the transition from sales to project execution.
- It dramatically reduces the number of back-and-forth emails needed to get started.
The 7-Step Client Onboarding Checklist
This is the system born from past failures. It is a repeatable process that will make you look more professional and save you from future headaches.
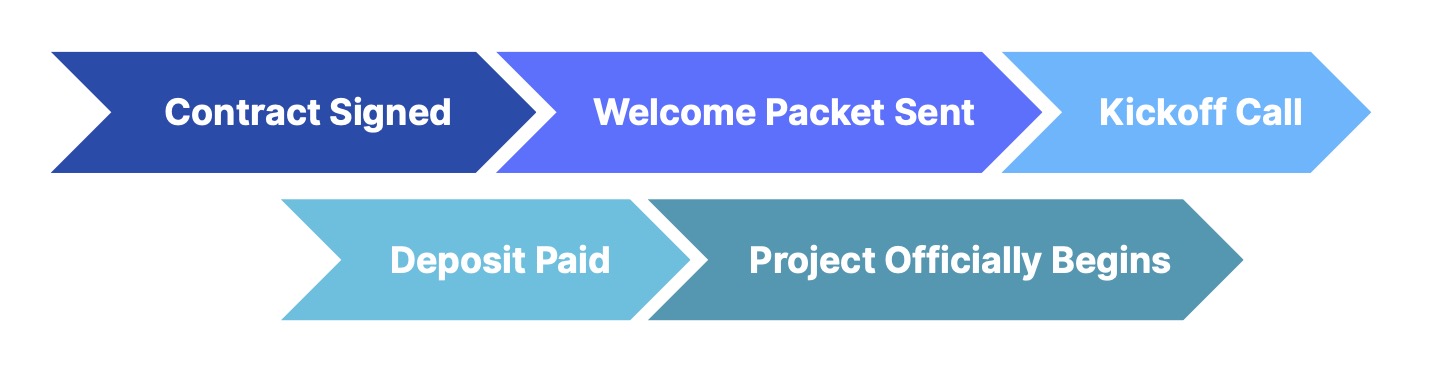
Step 1: Send the Welcome Packet
Immediately after the contract is signed, send a single, comprehensive "Welcome Aboard" email. This demonstrates organization and initiative. It should contain:
- A brief thank you and expression of excitement.
- A link to a shared folder (Google Drive, Dropbox) for all project files.
- A link to schedule the official kickoff call (using a tool like Calendly).
- A list of specific items you need from them before the kickoff call (see Step 2).
Step 2: Collect All Necessary Assets
Work cannot begin until you have the required materials. Requesting everything at once is professional; asking for things one by one via email over three weeks is not. Create a checklist for the client.
- Examples: Login credentials, brand style guides, content drafts, high-resolution logos, contact info for other team members involved.
Step 3: Schedule and Run an Official Kickoff Meeting
This is not an informal chat. It is a structured meeting with a clear agenda designed to confirm alignment.
On another past project, I failed to explicitly define the communication plan. I thought a weekly summary email was efficient. The client, used to an in-house team, expected daily progress reports. After a week of what they perceived as silence, they called me, agitated and worried the project was stalled. My "efficiency" was seen as neglect. We spent the rest of the project fighting a sense of mistrust that could have been completely avoided by a two-minute conversation during the kickoff call.
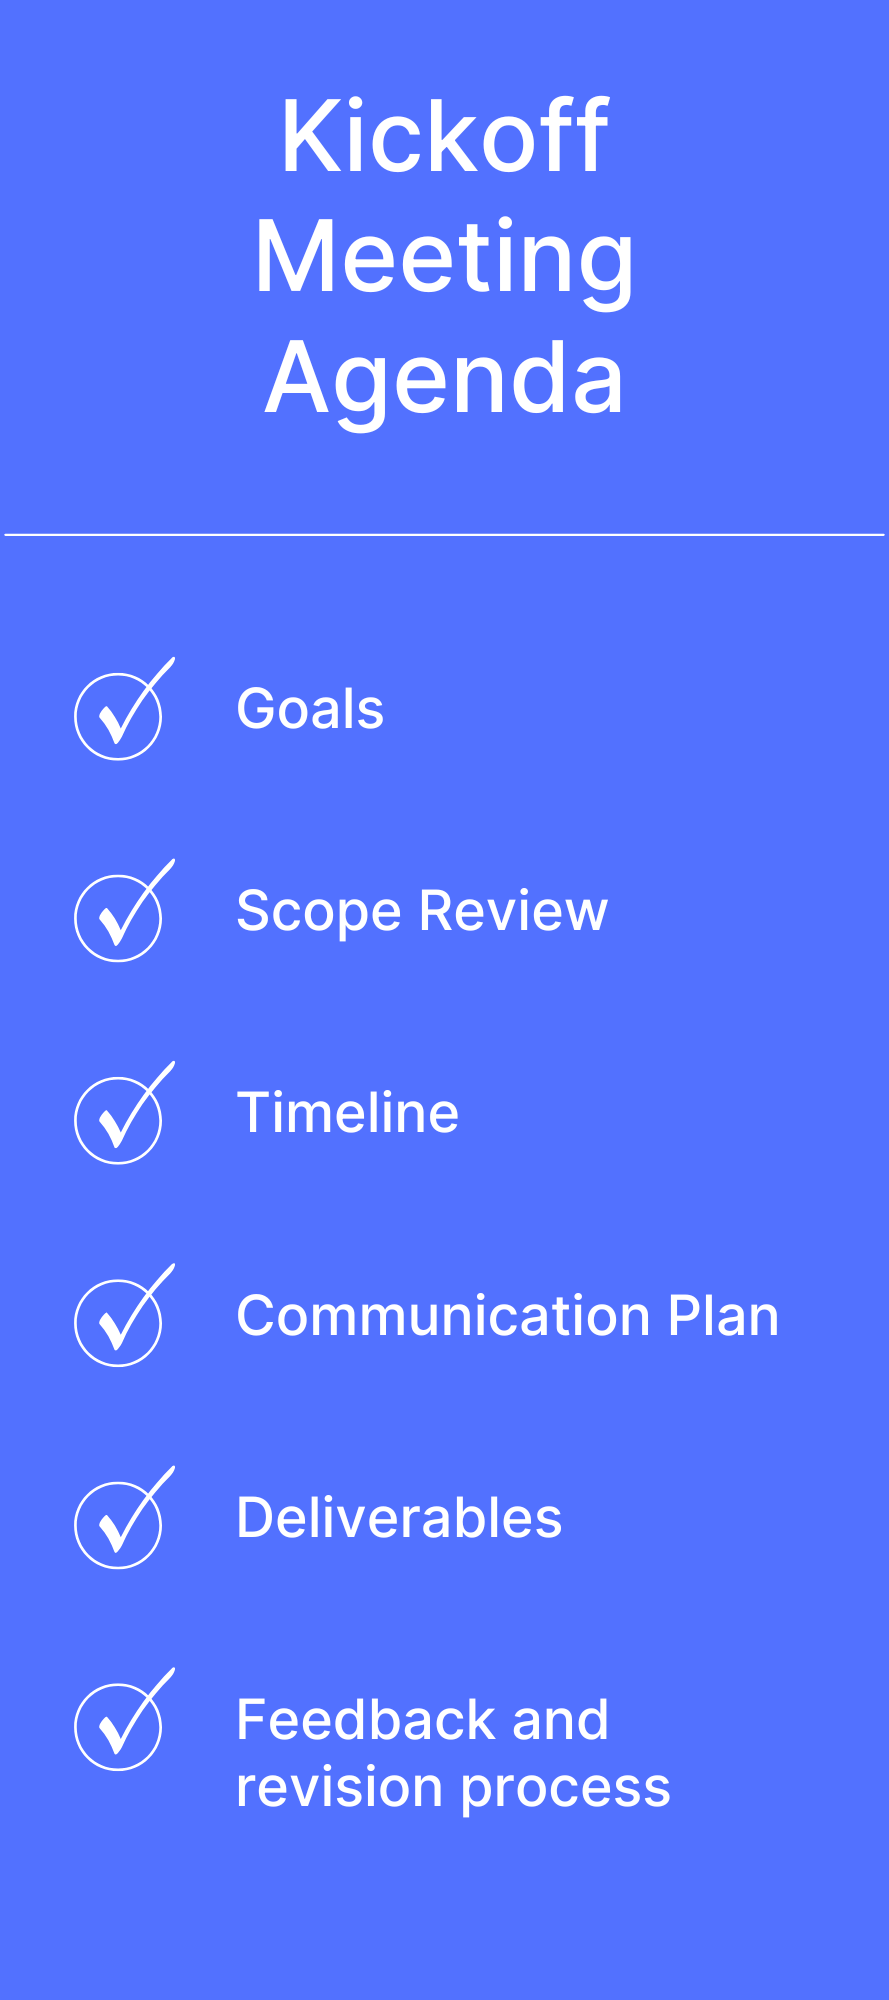
Your kickoff meeting agenda should include:
- Re-confirming the project goals in the client's own words.
- Briefly reviewing the project scope, timeline, and deliverables from the contract.
- Defining the communication plan (e.g., "We will have one 30-minute check-in call every Friday at 10 AM," or "All non-urgent updates will be posted in our shared Asana board").
- Agreeing on the feedback and revision process.
Step 4: Set Up Your Project Management System
Immediately after the kickoff call, while the details are fresh, set up the project in your chosen tool (Trello, Asana, Notion, etc.). Invite the client and their team, and populate it with the key dates and milestones discussed.
Step 5: Process the Upfront Deposit/First Invoice
If your payment terms include a deposit (and they should), send the invoice immediately after the kickoff meeting. State clearly and politely that the deposit secures their spot in your schedule and that the project's start date is contingent on its payment. This establishes a firm professional boundary.
Step 6: Complete an Internal Project Brief
Translate everything from the contract and kickoff call into your own internal brief. This becomes your single source of truth for the project, ensuring you don't have to hunt through emails to remember a key detail.
Step 7: Send a "Kickoff Complete" Summary Email
After the meeting, send one final email to the client. Recap what was agreed upon: the primary goal, the key milestones and dates, the communication plan, and a link to the project management space. This creates a paper trail and confirms everyone is aligned before the creative work begins.
Conclusion
Professionalism is a process. These systems are not for perfect freelancers who never make mistakes; they are for smart freelancers who know that a good checklist is the best defense against inevitable human error, misunderstandings, and chaos.
Implement this checklist to eliminate confusion, manage expectations, and set every project up for success from day one.
- Chip Olson